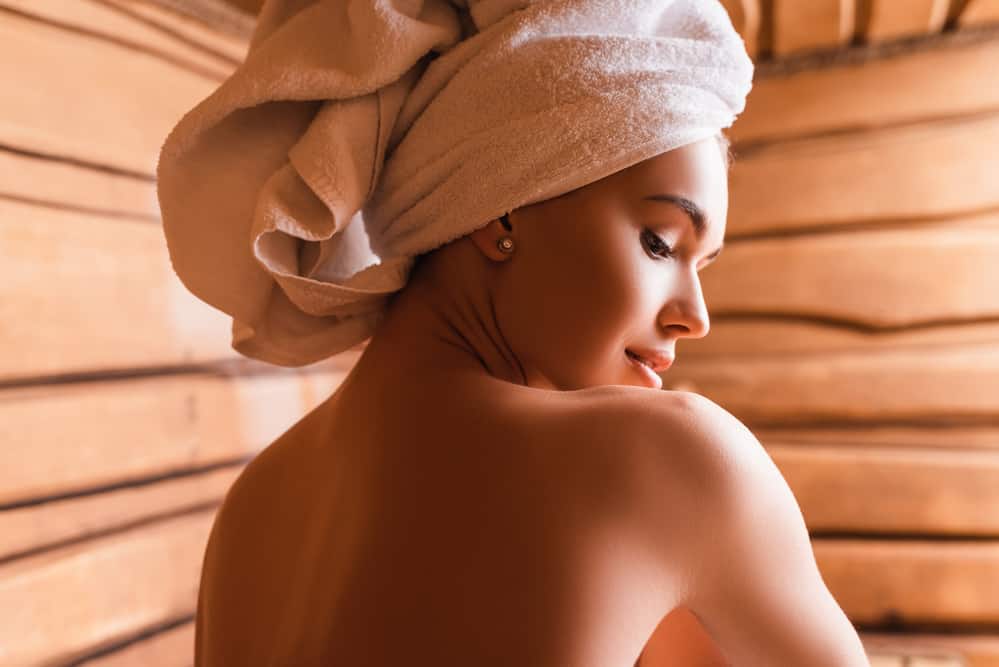
A daily self-massage is the secret to healthy, young-looking skin. Read further for the benefits of self-massage aka abhyanga with step-by-step instructions.
Benefits of Self-Massage – Abhyanga with Step-By-Step Instructions
Ayurveda highly recommends self-massage or abhyanga as part of the daily routine for optimal health and well-being. A regular self-massage with warm oil is very relaxing to the body and mind and vital to radiant glowing skin.
Benefits of Self-Massage – Abhyanga
Benefits of a daily self-massage with warm oil (abhyanga) include:
- Increased mental alertness
- Increased levels of stamina throughout the day
- Better, deeper sleep at night
- Softer, smoother skin
- Toning of the muscles and the whole physiology
- Calming for the nerves
- Lubrication of the joints
- Prevents aging of the skin and wrinkles
- Nourishes the body
- It is very relaxing
Step-By-Step Instructions: Self-Massage – Abhyanga
It is best to do a full-body-self-oil-massage every day, and the best time would be in the morning before shower or at night before going to bed.
Follow these step-by-step instructions:
The Scalp
First, apply the oil to the palm of your hands. Using both your hands, massage your head slowly and firmly as if you were shampooing your hair. Important areas to cover:
- The middle of the scalp; about eight finger-widths above your eyebrows
- The top of the head also known as the Crown Chakra
- The base of the skull.
The Face
Apply a little oil to your hands, and using both your hands make circular motions across your face, temples, and cheeks.
Using your index fingers, massage gently:
- between the chin and lower lip
- between the upper lip and nose
- on the outer edge of nostrils
- on the sides of the nose and cheekbones
- on the sides of the nose
- below the eyes
- the eyebrow
- on the eyelids
- between the eyebrows
- forehead; from the center to the temples
- the ears and earlobes
The Neck and Shoulders
Apply a little bit of oil to your hands. Using the palm of your hands and your fingers, massage the front and back of your neck, then your shoulders.
The Arms
Using your hands, massage your elbows and wrists with circular motions. Massage the extended parts between the shoulders, elbows, and wrists with long up-and-down movements. Massage the palm of your hands and pull each finger about three times.
The Chest, Stomach, and Back
Massage the chest using straight up and down movements. Massage the stomach and lower abdomen with large gentle circular motions in a clockwise direction. Without straining your back, do whatever is comfortable to massage your back.
The Legs
Using your hands, massage your knees and ankles with circular motions and the extended parts between the hips, knees, and ankles with long up-and-down and back-and-forth movements.
The Feet and Toes
Using your hands, massage the soles and heel with circular as well as up-and-down motions. Massage between your toes and pull each toe about three times.
Mini-Self-Massage
So there you have it, the benefits of self-massage aka abhyanga with step-by-step instructions, but if by any chance you don’t have the time every day for a full-body massage, you can still do a mini massage for healthy, young-looking skin.
This quick and easy massage takes about 2 minutes. Following the instructions described above, massage just your scalp and feet.
Recommended Oils

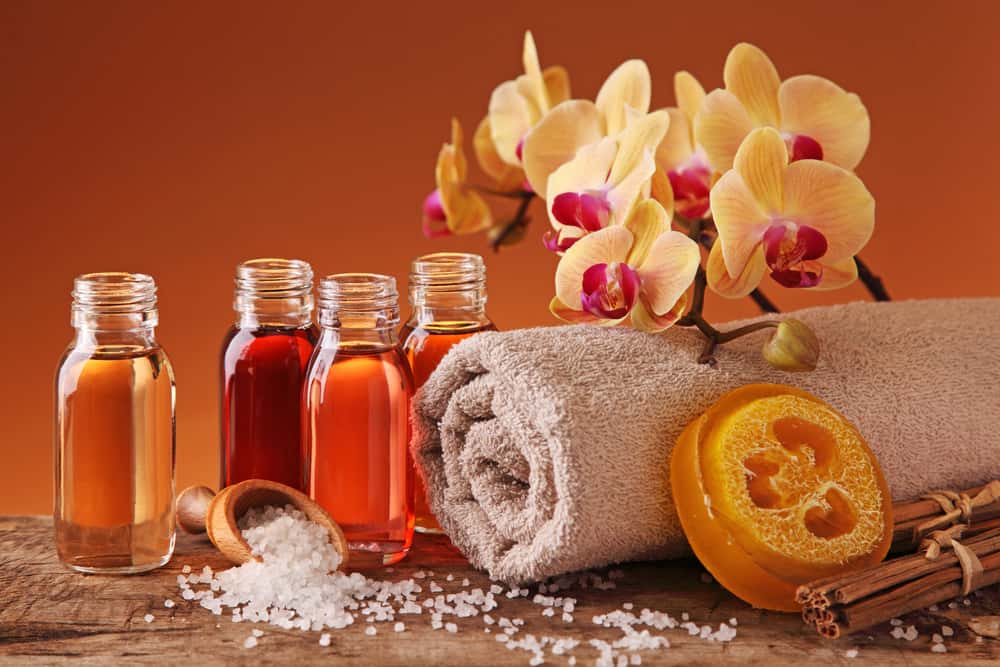
You can use organic sesame oil or coconut oil, a herbalized massage oil, or an aroma massage oil.
When to avoid a Self-Massage – Abhyanga
Besides all the benefits of self-massage, there are times when it is best to avoid Abhyanga:
- Directly after a meal
- If you are experiencing constipation, indigestion or gastritis
- If you have asthma or a fever
- Immediately after surgery
If you are preganant or have heart problems don’t massage the stomach area.
Additional Resources
- An Introduction to Ayurveda
- Ayurveda Lifestyle & Daily Routines
- Ayurveda’s Perfect Daily Routine – Dinacharya
- How to Create an Evening Routine that works for you
If you enjoyed this post, please make sure to leave a comment below.